404 - Página no encontrada
¿Estás buscando algo en especial?
Los más vendidos
Ver más
20%
Set de Bandas Elásticas x 5 Sport Fitness-71728
Original price was: $28.519.$22.815Current price is: $22.815. IVA Comprar Ahora
20%
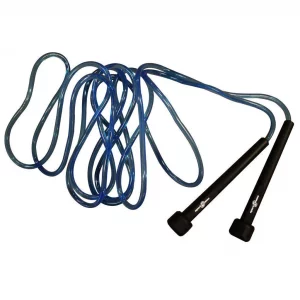
Lazo Para Salto 5mmx2 2.8m JR5622 – Sport Fitness 71337
Original price was: $7.846.$6.276Current price is: $6.276. IVA Comprar Ahora
20%
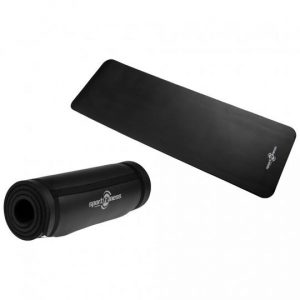
Colchoneta Profesional Sport Fitness – 70273
Original price was: $104.638.$83.710Current price is: $83.710. IVA Comprar Ahora
20%
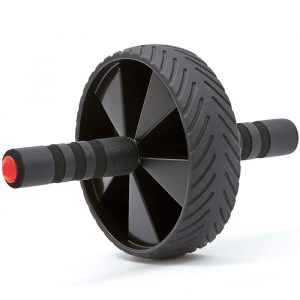
Rueda Para Abdominales – Sport fitness 71469
Original price was: $35.502.$28.401Current price is: $28.401. IVA Comprar Ahora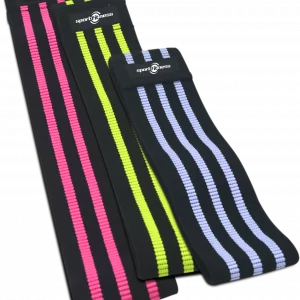
20%
Set de Bandas Elásticas En Tela – Sportfitness
Original price was: $59.295.$47.436Current price is: $47.436. IVA Comprar Ahora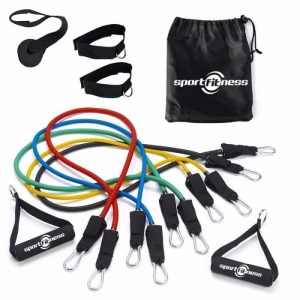
20%
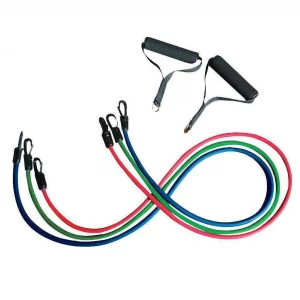
Bandas Tubulares (JGO x 10PCS) – Sport Fitness 71569
Original price was: $115.922.$92.737Current price is: $92.737. IVA Comprar Ahora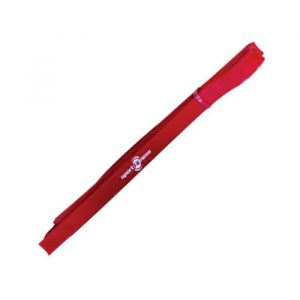
20%
Banda Elástica de Poder Sportfitness 2000*13*4.5mm – Sport Fitness 71281
Original price was: $16.722.$13.377Current price is: $13.377. IVA Comprar Ahora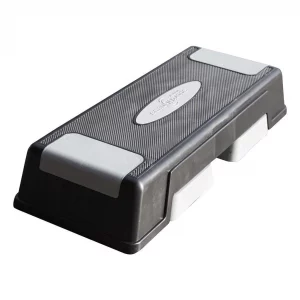
20%
Agotado
Steps Aeróbicos Sportfitness 2 Niveles- 70204
Original price was: $120.847.$96.677Current price is: $96.677. IVA Comprar Ahora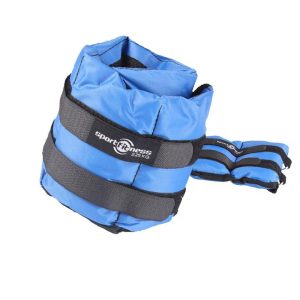
20%
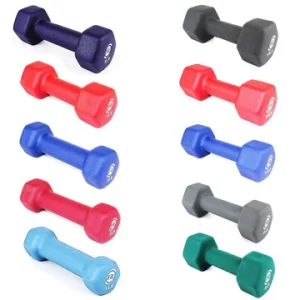
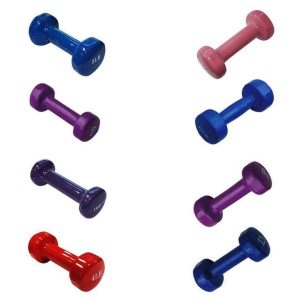
Pesas Tobilleras – Sportfitness 71186
Original price was: $54.371.$43.496Current price is: $43.496. IVA Comprar Ahora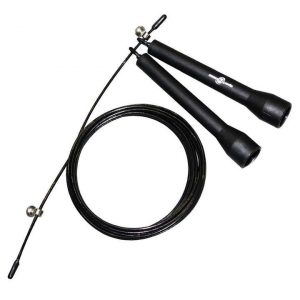
20%
Lazo Para Salto 2.4mm*3m JR7001 – Sportfitness 71336
Original price was: $17.337.$13.869Current price is: $13.869. IVA Comprar Ahora
20%
Banda Elástica Poder Sportfitness 2000*22*4.5mm – Sport Fitness 71282
Original price was: $27.083.$21.666Current price is: $21.666. IVA Comprar Ahora
20%
Colchoneta Gim B-115 Sportfitness- 70156
Original price was: $76.940.$61.552Current price is: $61.552. IVA Comprar Ahora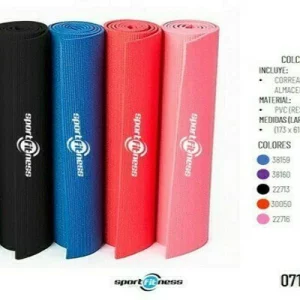
20%
Bandas Tubulares De Resistencia CE3320 Sportfitness – 71188
Original price was: $44.112.$35.289Current price is: $35.289. IVA Comprar Ahora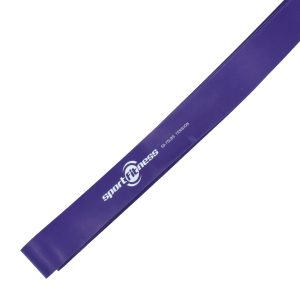
20%
Banda Elástica Poder Sportfitness 2000*32*4.5mm – 71283
Original price was: $40.829.$32.663Current price is: $32.663. IVA Comprar Ahora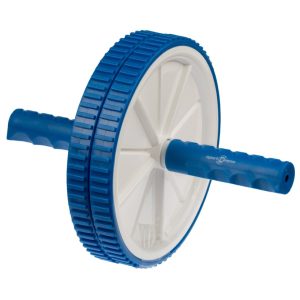
20%
Rueda Para Abdominales – Sportfitness 71189
Original price was: $24.395.$19.516Current price is: $19.516. IVA Comprar Ahora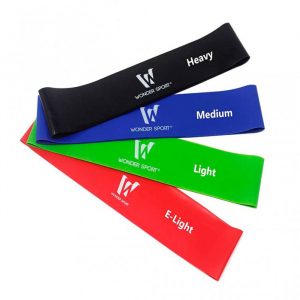
20%
Agotado
SET BANDAS ELÁSTICAS x 4 PCS – 3820
Original price was: $39.541.$31.632Current price is: $31.632. IVA Comprar Ahora
20%
Core Sliders Sportfitness-71733
Original price was: $19.799.$15.839Current price is: $15.839. IVA Comprar Ahora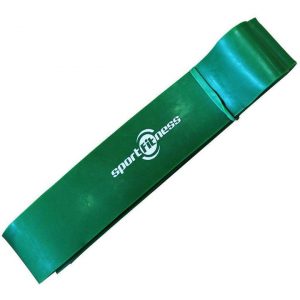
20%
Banda Elástica Poder Sportfitness 2000*44*4.5mm – 71284
Original price was: $55.807.$44.645Current price is: $44.645. IVA Comprar Ahora

20%
Almohadilla Hombro Trabajo Barra – Sportfitness 71184
Original price was: $35.502.$28.401Current price is: $28.401. IVA Comprar Ahora
20%
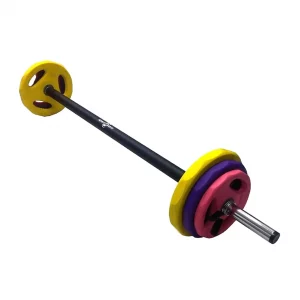
Set Body Pump Sportfitness – Sport fitness 71495
Original price was: $469.845.$375.876Current price is: $375.876. IVA Comprar Ahora
20%