Descripción:
- Mejora la postura, el balance y la flexibilidad.
- Adelgaza cadera y muslos.
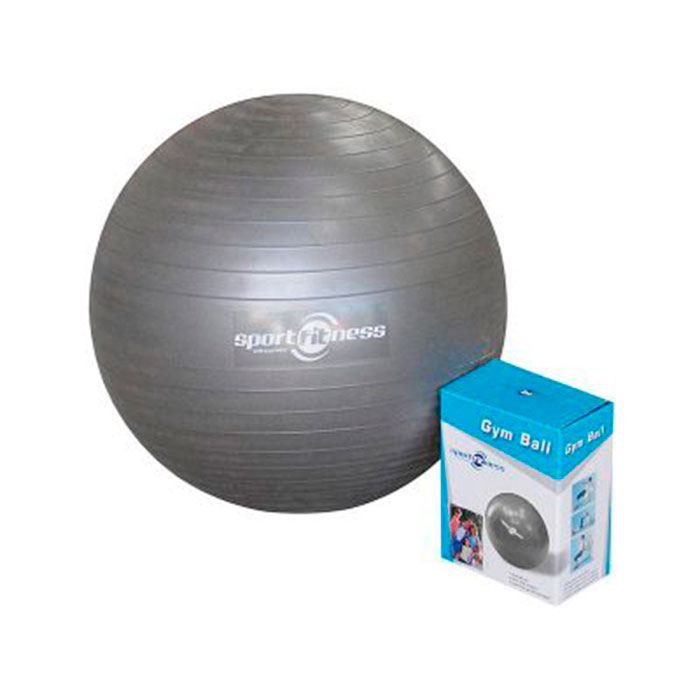
- Construido en material anti explosión


Original price was: $37.957.$30.365Current price is: $30.365. IVA
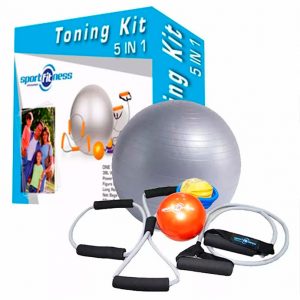
Bola de gimnasia de 65cm en varios colores GB-1065. selecciona una opción y la cantidad.
Descripción:


| Peso | N/D |
|---|---|
| Dimensiones | N/D |
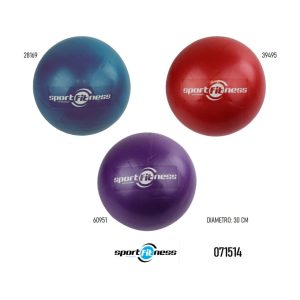
| Color | AZUL, GRIS, MORADO, ROJO |
Las Bolas de Gimnasia de Sport Fitness son la mejor inversión que puedes realizar. Esto se debe a que mejoran la postura, el balance y la flexibilidad. Asimismo, tonifican los músculos y adelgazan tanto la cadera como los muslos. Incluso, se adaptan a diferentes niveles de intensidad y exigencia gracias a que son inestables. Una gran ventaja es que lo puedes utilizar para una variedad de ejercicios inimaginable.
La seguridad es lo más importante para Sport Fitness. Es por este motivo que las bolas de gimnasia fueron construidas en material anti-explosión para evitar accidentes o lesiones.
SKU: 70136
Debes acceder para publicar una reseña.
Calificación
No hay Calificación aún.