Descripción:
- Agarres múltiples con sistema antideslizante.
- Sistema de ajuste para el marco de la puerta.
- Peso máximo de usuario 120 Kg.
- Fortalecimiento muscular a nivel de la espalda,
- Dorsales, Hombro, Bíceps, Antebrazo, Abdomen


Original price was: $67.502.$54.001Current price is: $54.001. IVA
Descripción:


| Peso | 2 kg |
|---|---|
| Dimensiones | 60 × 40 × 10 cm |
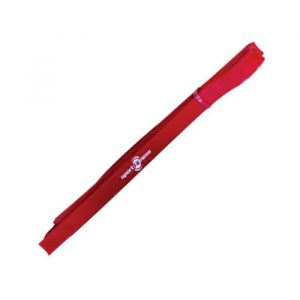
La barra puerta PU1217 de Sport Fitness es perfecta para realizar dominadas. Las dominadas se basan en sosteniéndose de una barra levantar el cuerpo hasta llevar la cumbamba a la altura de la barra.
Como es un ejercicio que se hace con el peso del propio cuerpo fortalece diferentes músculos. Por ejemplo, la espalda, los dorsales, el hombro, los bíceps, el antebrazo y el abdomen. Incluso trabajan la movilidad de la cintura escapular.
La barra puerta PU1217 cuenta con agarres múltiples antideslizante para realizar las diferentes variaciones de este ejercicio. Además, tiene un sistema de ajuste para el marco de la puerta.
Es importante que la persona que lo utilice pese máximo 120 kg.

Debes acceder para publicar una reseña.
Calificación
No hay Calificación aún.