

Rutina Cross Fit en casa
Calentamiento Cross Fit en casa
- 10 jumping jacks o payasos
- 5 burpees
- 10 avanzadas
Ejercicio 1 Cross Fit casero
7 rondas de:
- 12 push ups o lagartijas: solo necesitas una colchoneta para realizarlo. Si deseas puedes utilizar el accesorio flexión brazos para variar los músculos del pecho a trabajar.
Haz clic aquí para adquirir la colchoneta
Haz clic aquí para adquirir el accesorio flexión brazos - 12 sentadillas
Ejercicio 2 Cross Fit casero
- 21 Sentadillas sumo con peso. Utiliza un peso que te rete.
Haz clic aquí para adquirir las mancuernas - 21 Burpees
- 15 sentadillas sumo con peso.
- 15 Burpees
- 9 sentadillas sumo con peso.
- 15 Burpees
Ejercicio 3
- 50 Avanzadas con peso
- 50 Abdominal corta
- 40 Avanzadas con peso
- 40 Abdominal corta
- 30 Avanzadas con peso
- 30 Abdominal corta
- 20 Avanzadas con peso
- 20 Abdominal corta
- 10 Avanzadas con peso
- 10 Abdominal corta
Ejercicio 4
En 20 minutos debes hacer
- 5 push ups o lagartija
- 10 burpees
- 20 sentadillas con salto
Ejercicio 5 Cross Fit casero
- 15 Peso Muerto con mancuerna rusa
- 15 sentadillas sumo con mancuerna
Estira
Estos son algunos de los ejercicios que puedes hacer para estirar:
Comparte tu experiencia de “Cross Fit en Casa” mencionándonos en instagram @Tienda_SportFitness
Nuestros destacados
20%
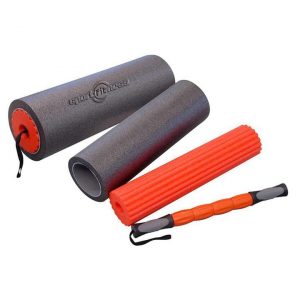
Set De Movilidad 3 EN 1 – Sport Fitness 71465
Original price was: $118.795.$95.036Current price is: $95.036. IVA Comprar Ahora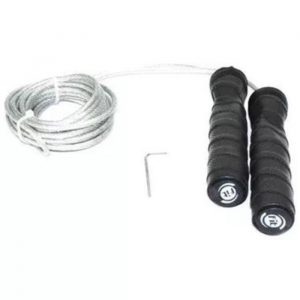
20%
Lazo Para Salto JR4317 – Sport Fitness 71588
Original price was: $63.398.$50.718Current price is: $50.718. IVA Comprar Ahora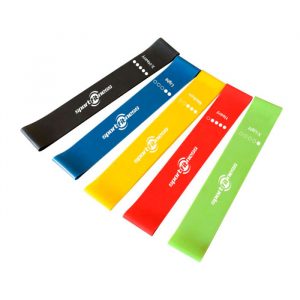
20%
Set de Bandas Elásticas x 5 Sport Fitness-71728
Original price was: $28.519.$22.815Current price is: $22.815. IVA Comprar Ahora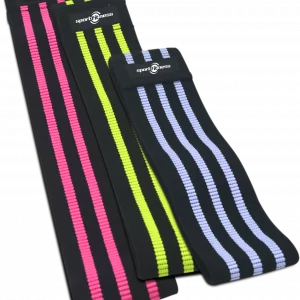
20%
Set de Bandas Elásticas En Tela – Sportfitness
Original price was: $59.295.$47.436Current price is: $47.436. IVA Comprar Ahora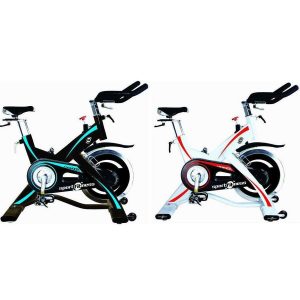
20%
Bicicleta Spinning Magnética Benevento – 70396
Original price was: $3.590.517.$2.872.413Current price is: $2.872.413. IVA Comprar Ahora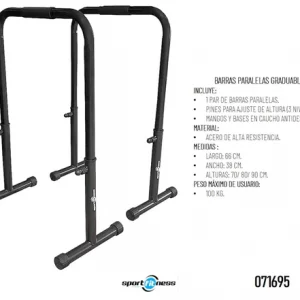
20%
Agotado
Paralelas Graduables – Sport Fitness 71695
Original price was: $344.902.$275.921Current price is: $275.921. IVA Comprar Ahora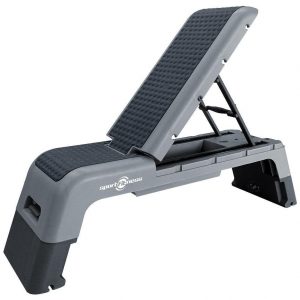
3 comentarios sobre “Rutina Cross Fit en casa”
Deja una respuesta
Lo siento, debes estar conectado para publicar un comentario.
Excelente
Excelente!!!!
Es una rutina excelente!!!