Características del Producto
| Peso | 3 kg |
|---|---|
| Dimensiones | 50 × 50 × 5 cm |


Original price was: $85.096.$68.076Current price is: $68.076. IVA
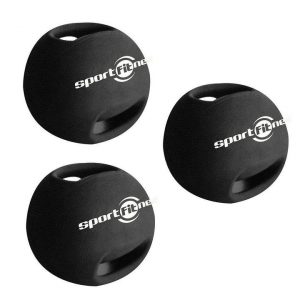
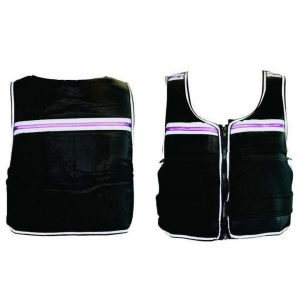
Bolsa de nylon Laso con mango de espuma. Mancuernas de 1 libra revestimiento de espuma Grip con mangos con este kit.
Agotado
| Peso | 3 kg |
|---|---|
| Dimensiones | 50 × 50 × 5 cm |
Descripción:
Debes acceder para publicar una reseña.

Calificación
No hay Calificación aún.